A simple guide for incorporating fiducials into your design
For BotFactory Printers
What are fiducials?
In printed circuit board (PCB) manufacturing, fiducial marks, also known as circuit pattern recognition marks, allow SMT placement equipment to accurately locate and place parts on boards. These devices locate the circuit pattern by providing common measurable points.


Editing existing fiducial in KiCAD library
KiCAD comes with some fiducial designs included in the default libraries. We can use one of the existing fiducials, but we will need to make some modifications
Understanding alignment process
- Front Copper
- Paste Mask
- Pick and place center and rotation files
Adding a fiducial to the PCB layout
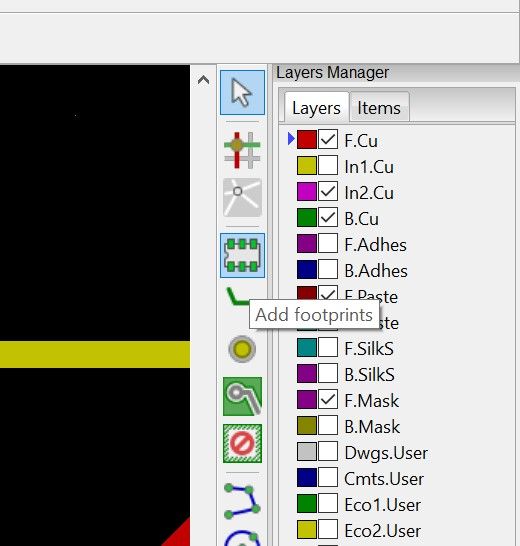
- Open the PCB layout editor
- On the right sidebar, click on "Add footprints"
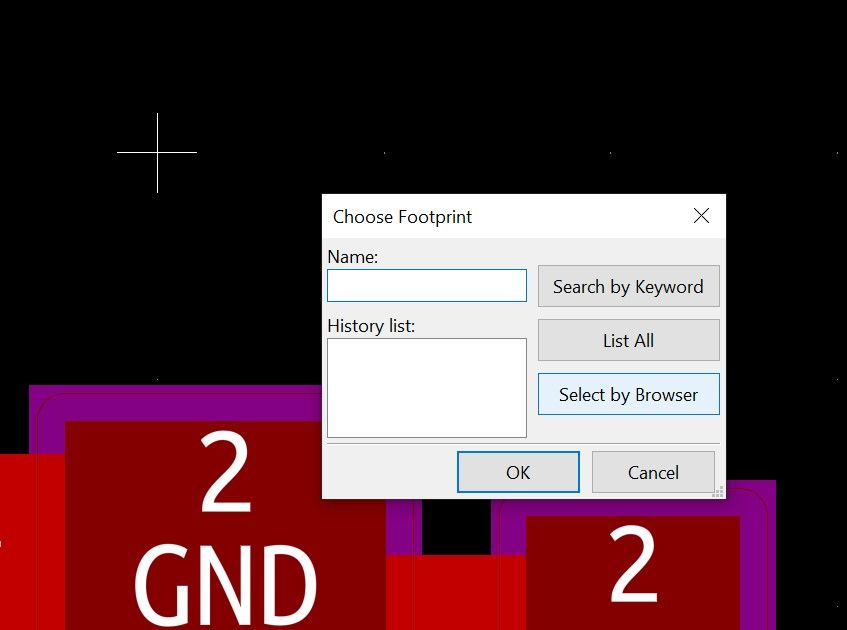
3. Click on "Select by Browser" in the pop up window.
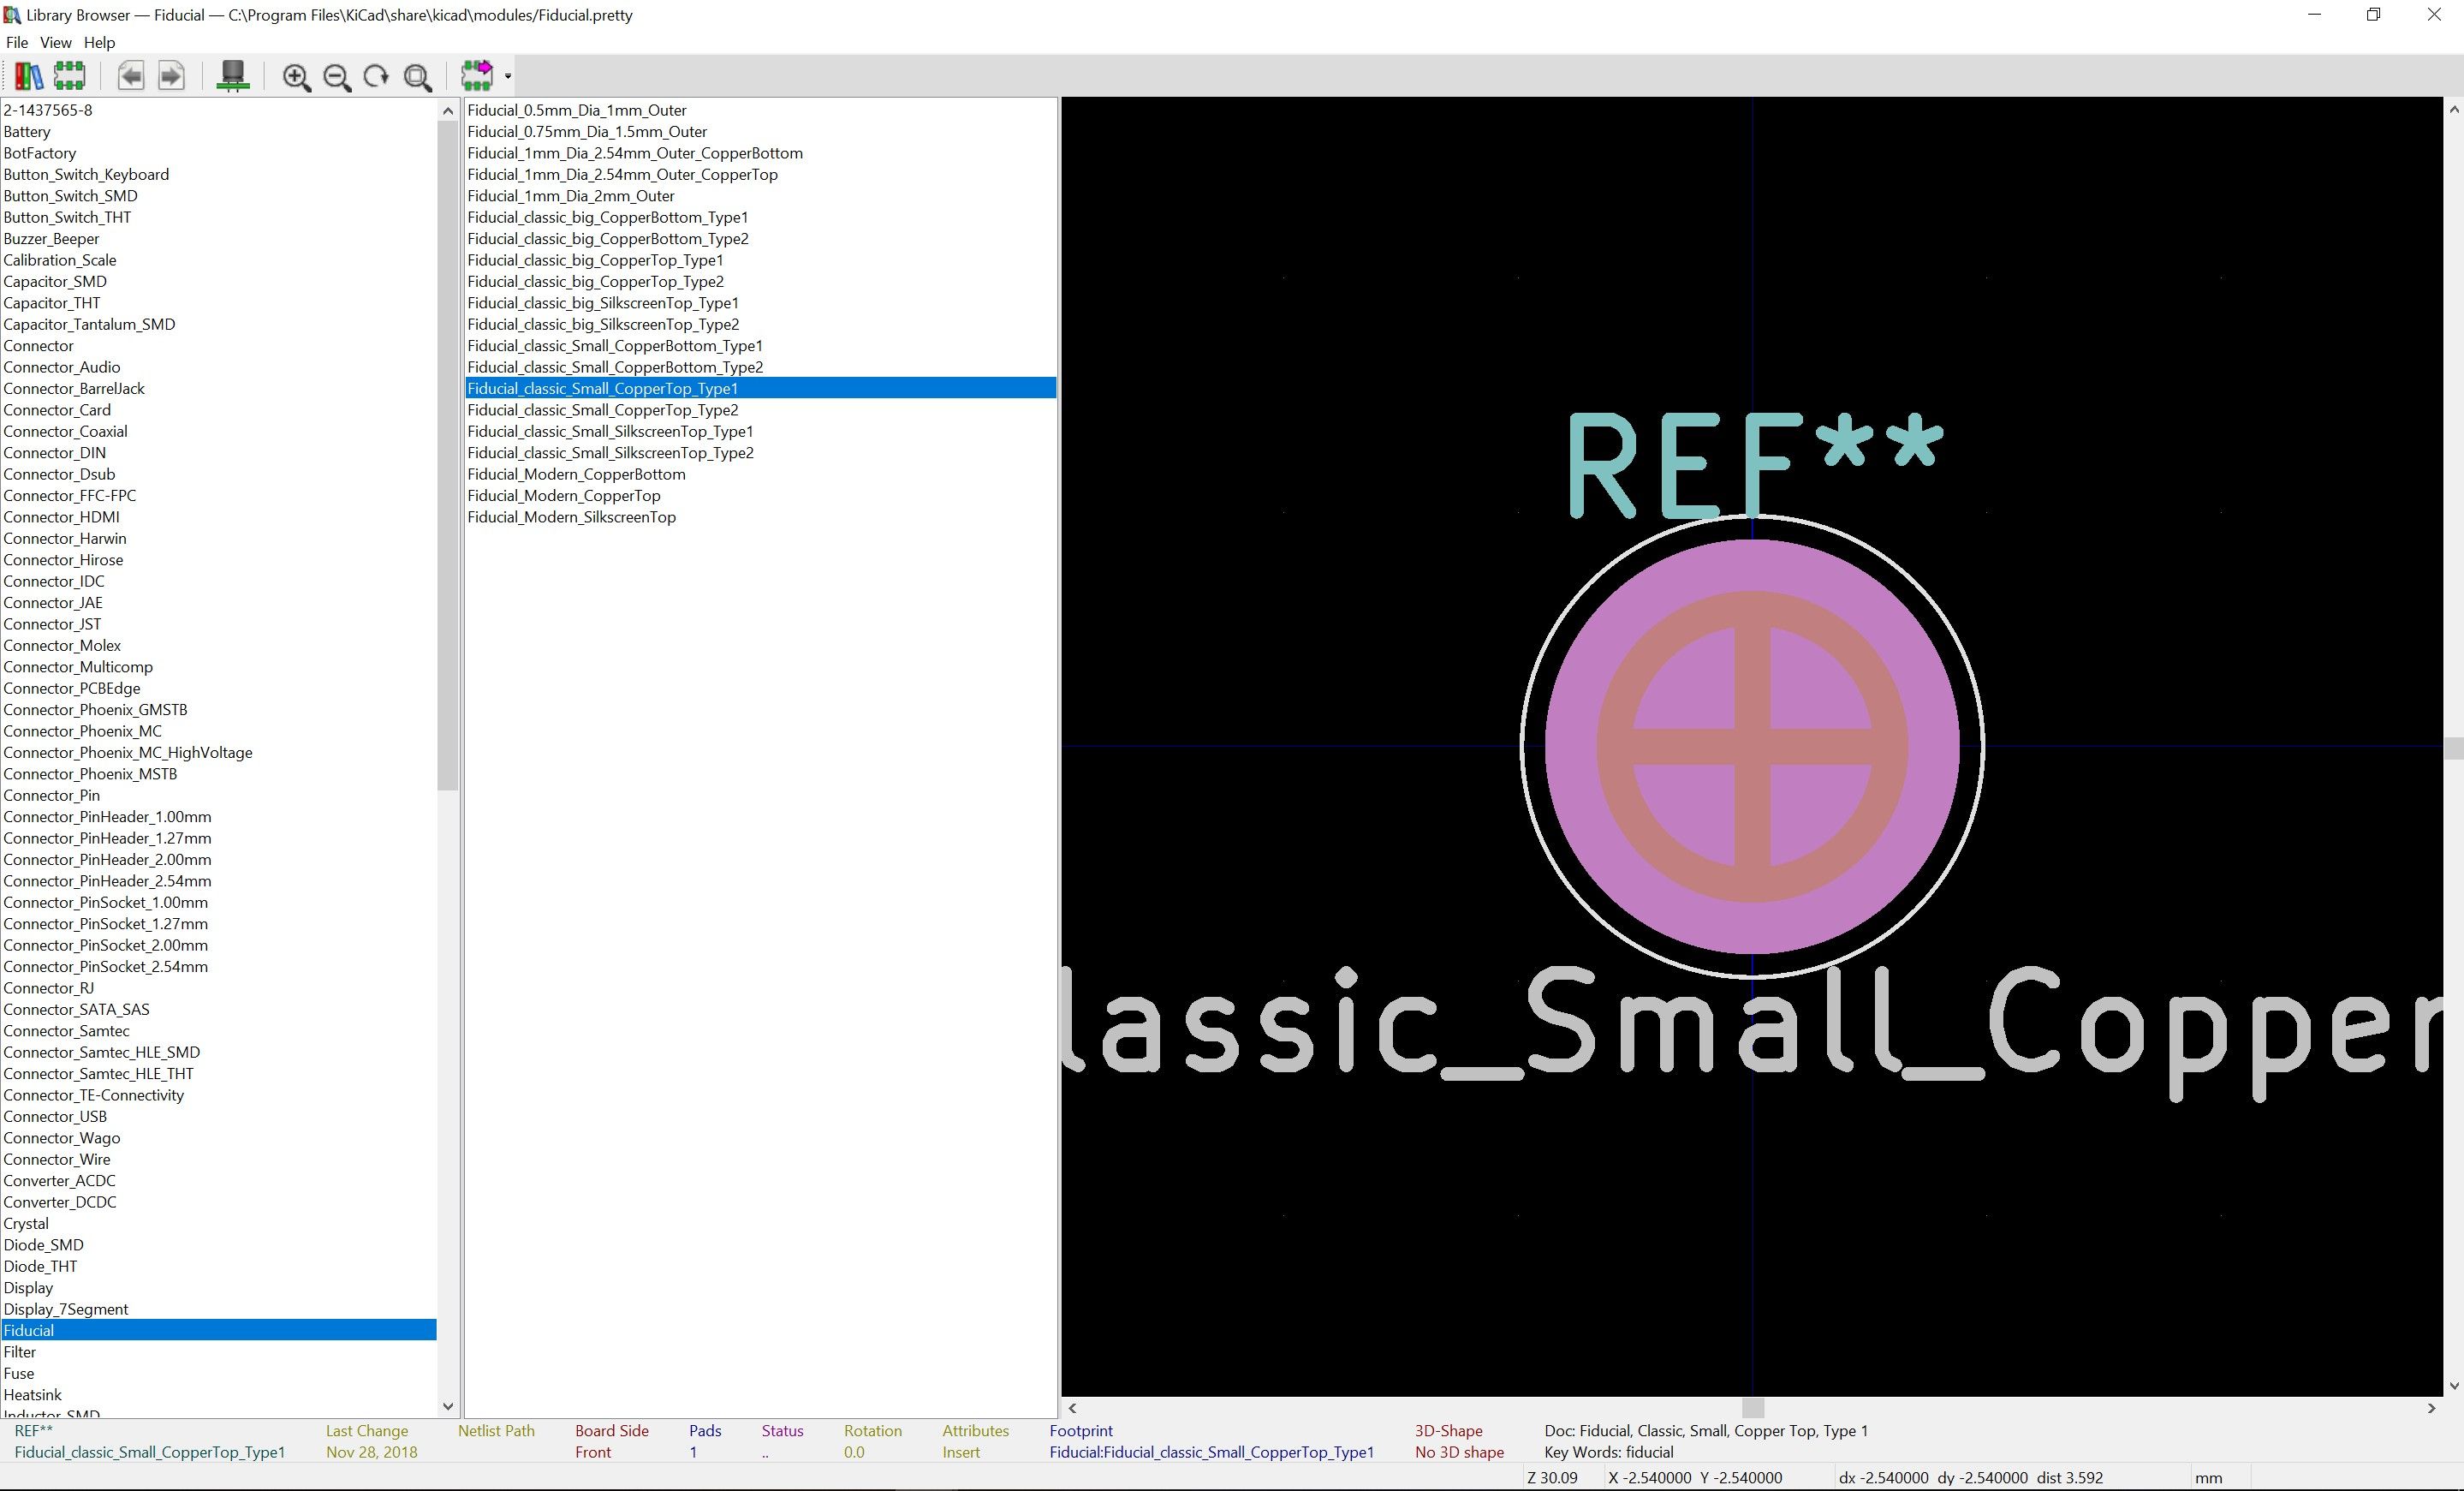
4. Scroll down and click on "Fiducials" library, and double click on "Fiducial_classic_Small_CopperTop_Type1"
Modifying the fiducial for use with BotFactory printer
- Click anywhere on the PCB layout to place the footprint you have selected in the previous section
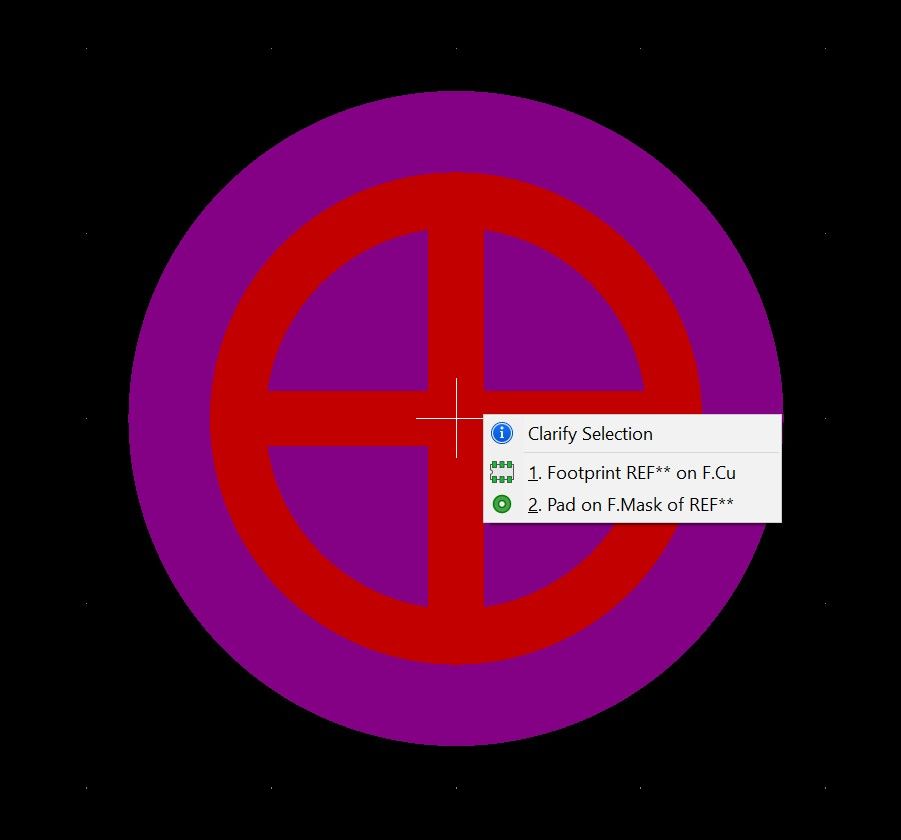
- Click on the fiducial, and select "Footprint REF** on F.Cu" in the clarify selection popup
3. Click on "Footprint Editor" in the window that popped up
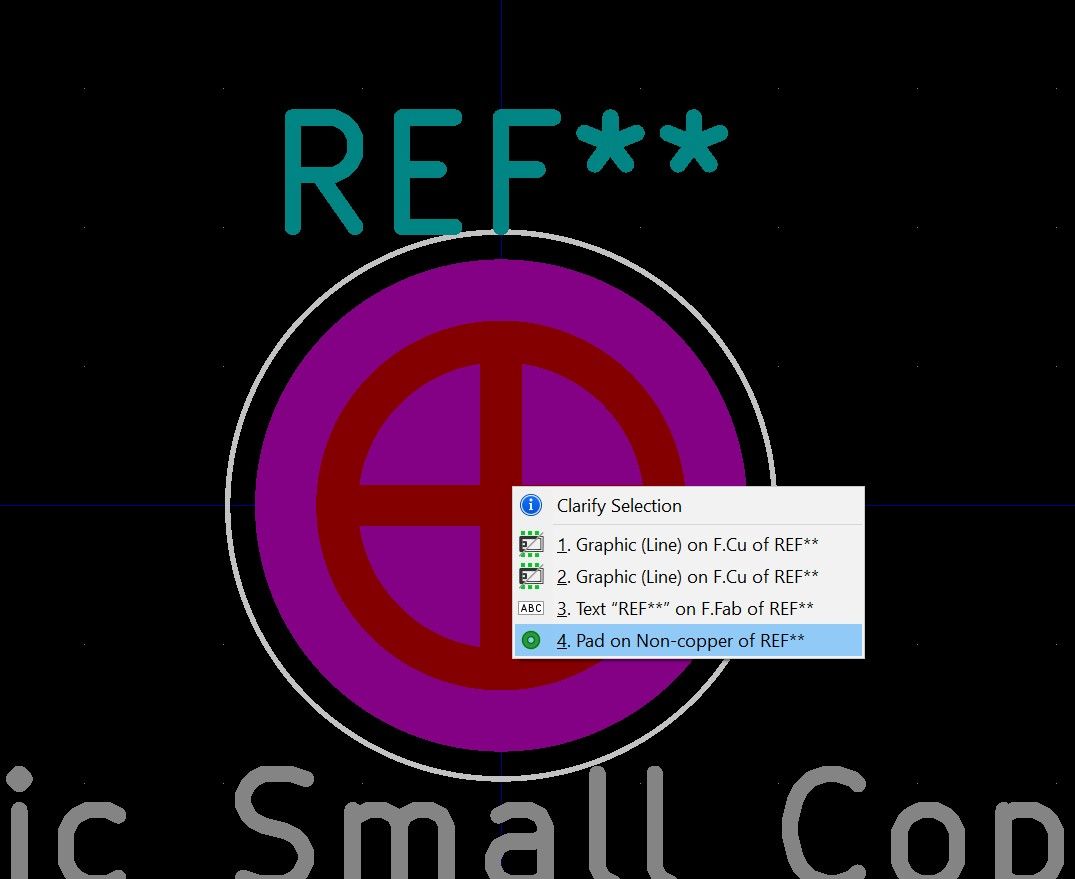
4. In the footprint editor window, click on the fiducial and select "Pad on Non-copper of REF**"
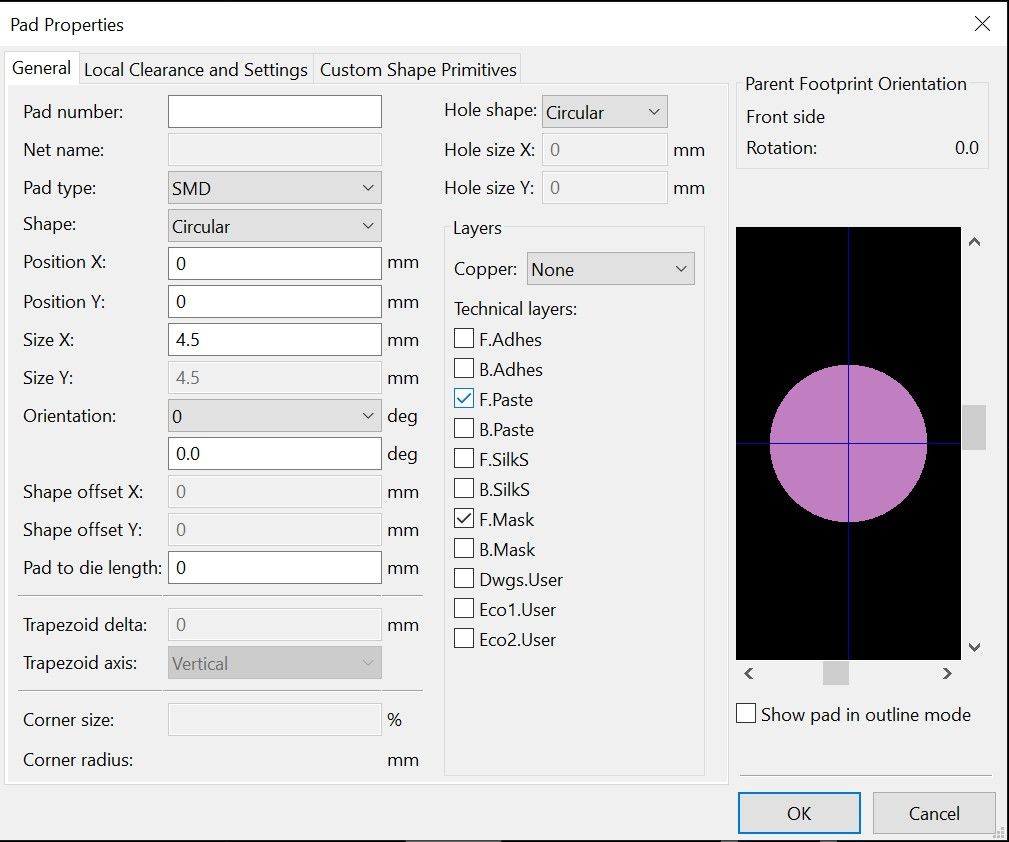
5. In the pad properties, look for the section labeled Technical layers
6. Enable the F.Paste layer and click on OK
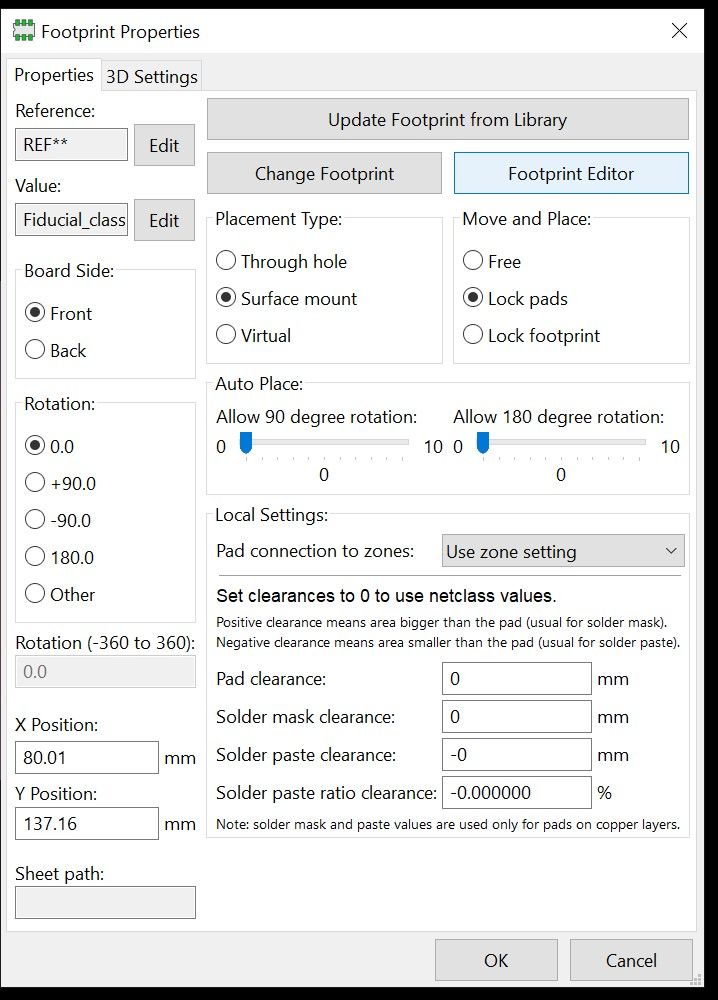
7. With the footprint still selected, click on "Footprint properties" in the top menu bar

8. Look for the section labeled Placement Type
9. Select "Surface mount" in that section and click on OK

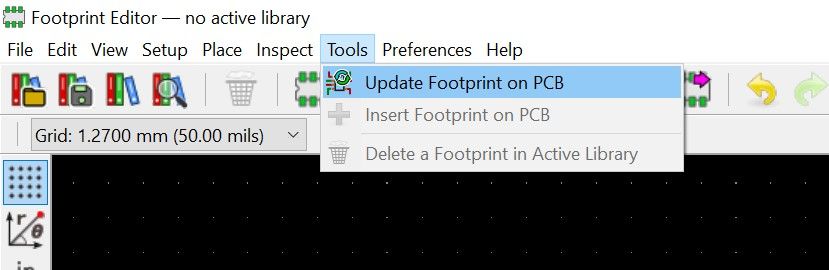
10. Navigate to Tools and click on "Update Footprint on PCB"
You can save the footprint into a new library so it can be reused for other circuit designs. Alternatively, you will need to make this modification for every new project in the future.
Placing the fiducials in your PCB layout
The fiducials help our printers align itself to the printed board
Placing the fiducials
We recommend using 2 fiducials for paste and 2 fiducials for pick-and-place.
- Select on the fiducial in the PCB layout
- Click on "Footprint REF** on F.Cu" in the clarify selection window
- Copy and paste the footprint 3 times, having a total of 4 copies of the same fiducial
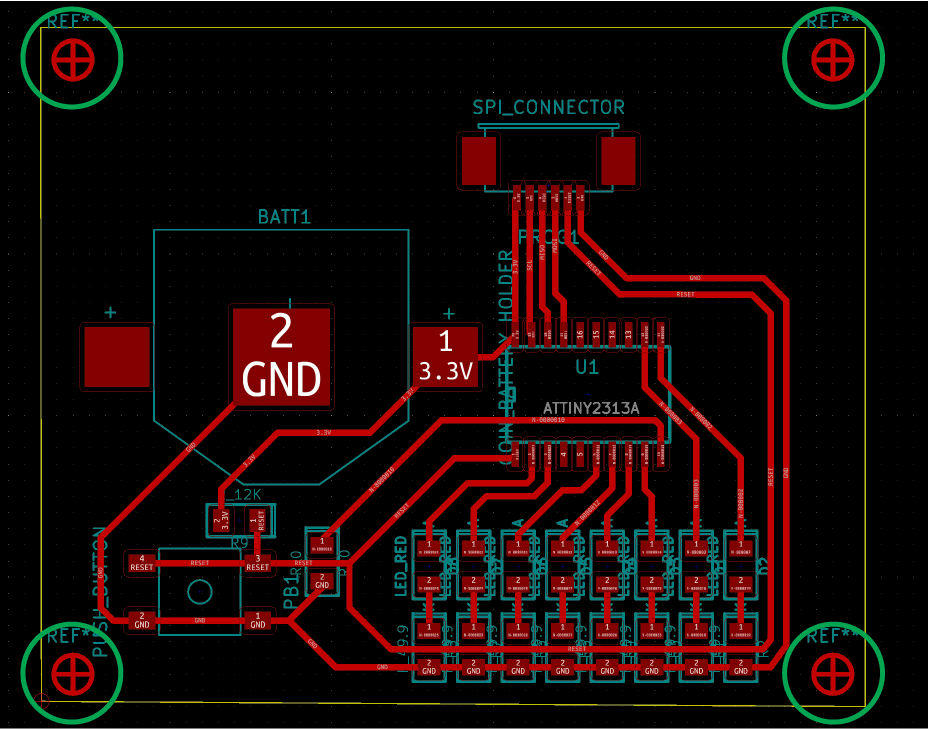
4. Move each of them to a corner of your circuit, maximising the distance between 2 diagonal fiducials. An example is shown on the right, with fiducials circled in green.